
Canning black beans at home offers not only a way to save money but also the satisfaction of having a pantry stocked with ready-to-use ingredients. Here's everything you need to know to can your own black beans, ensuring they're just as convenient as store-bought cans but with the added benefit of homemade quality.
Ingredients and Equipment Needed:
- Dried Black Beans: Bulk buying is cost-effective and ensures you have a steady supply.
- Water: For cooking the beans before canning.
- Salt (Optional): For flavoring the beans.
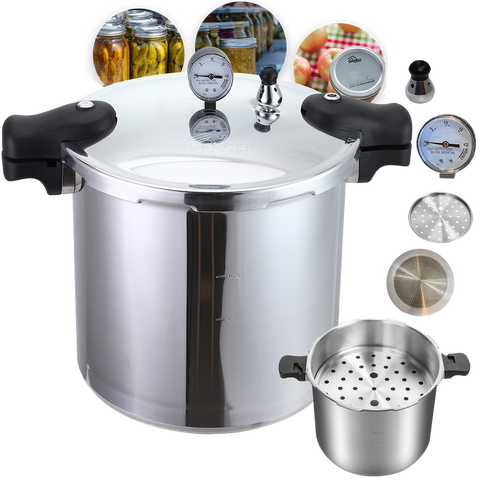
- Pressure Canner: Used here for its efficiency in safely preserving the beans.
- Jars, Lids, and Rings: Essential for storing your canned beans.
- Jar Lifter and Funnel: Tools to ease the canning process.
Preparing Your Beans:
1. Soaking (Optional): While soaking beans overnight is a common practice to reduce phytic acid and aid digestion, an expedited method is also effective.
2. Rinsing and Sorting: Inspect beans for any debris or damaged pieces, removing them before cooking.
3. Quick-Soak Method: For every ¾ cup of beans (sufficient for a pint jar), cover with water, bring to a boil, then let sit for an hour to mimic soaking.
Canning Process:
1. Filling Jars: Use a funnel to fill cleaned jars with beans, leaving a generous 1-inch headspace to allow for expansion.
2. Adding Flavor (Optional): A half teaspoon of salt per pint jar can be added for taste, though it's not necessary for preservation.
3. Covering with Water: After adding beans (and salt), fill jars with water, maintaining the 1-inch headspace.
4. Removing Air Bubbles: Run a spatula or spoon around the inside edge of the jar to release trapped air.
5. Wiping and Sealing: Clean the jar rims before applying lids and tightening rings to fingertip tightness.
6. Processing: Place jars in the pressure canner with 2 inches of water (ensuring jars do not submerge). Lock the canner lid, and process pint jars for 1 hour and 15 minutes at the correct pressure for your elevation.
After Canning:
- Cooling: Let jars cool undisturbed for 12-24 hours.
- Testing Seals: Remove rings and check that lids have sealed by pressing the center. A properly sealed lid will not flex.
- Storage: Label your jars with contents and date, then store in a cool, dark place.
Home-canned black beans are ready to use in any recipe calling for beans. They’re perfect for soups, salads, tacos, and more, offering a homemade and healthier alternative to commercially canned beans.
This guide to canning black beans is a straightforward way to enhance your home canning skills and ensure your pantry is stocked with nutritious, ready-to-use beans.


Comments (0)
There are no comments for this article. Be the first one to leave a message!